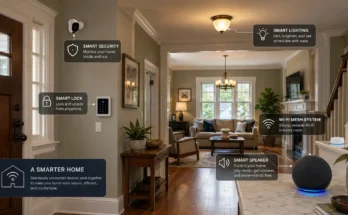
Smart home technology evolves rapidly, and understanding Home Assistant Add-on Performance Optimization is key to building a reliable, future-proof system. This comprehensive guide explores what Home Assistant Add-on Performance Optimization entails, why it matters, and how to implement it effectively. By the end, you’ll have a clear grasp of Home Assistant Add-on Performance Optimization and practical steps to optimize your setup.
Home Assistant Add-on Performance Optimization
Why Home Assistant Add-on Performance Optimization Matters
The importance of this framework cannot be overstated. It directly impacts reliability, security, and flexibility. Devices adhering to Home Assistant Add-on Performance Optimization standards undergo rigorous certification, resulting in fewer dropouts and consistent performance.
From a security perspective, this approach mandates regular firmware updates, protecting your home network. Without proper standards, you risk outdated devices becoming attack vectors.
Furthermore, this technology prevents vendor lock-in. When devices speak the same standard, you’re free to mix brands and change your hub without losing functionality.
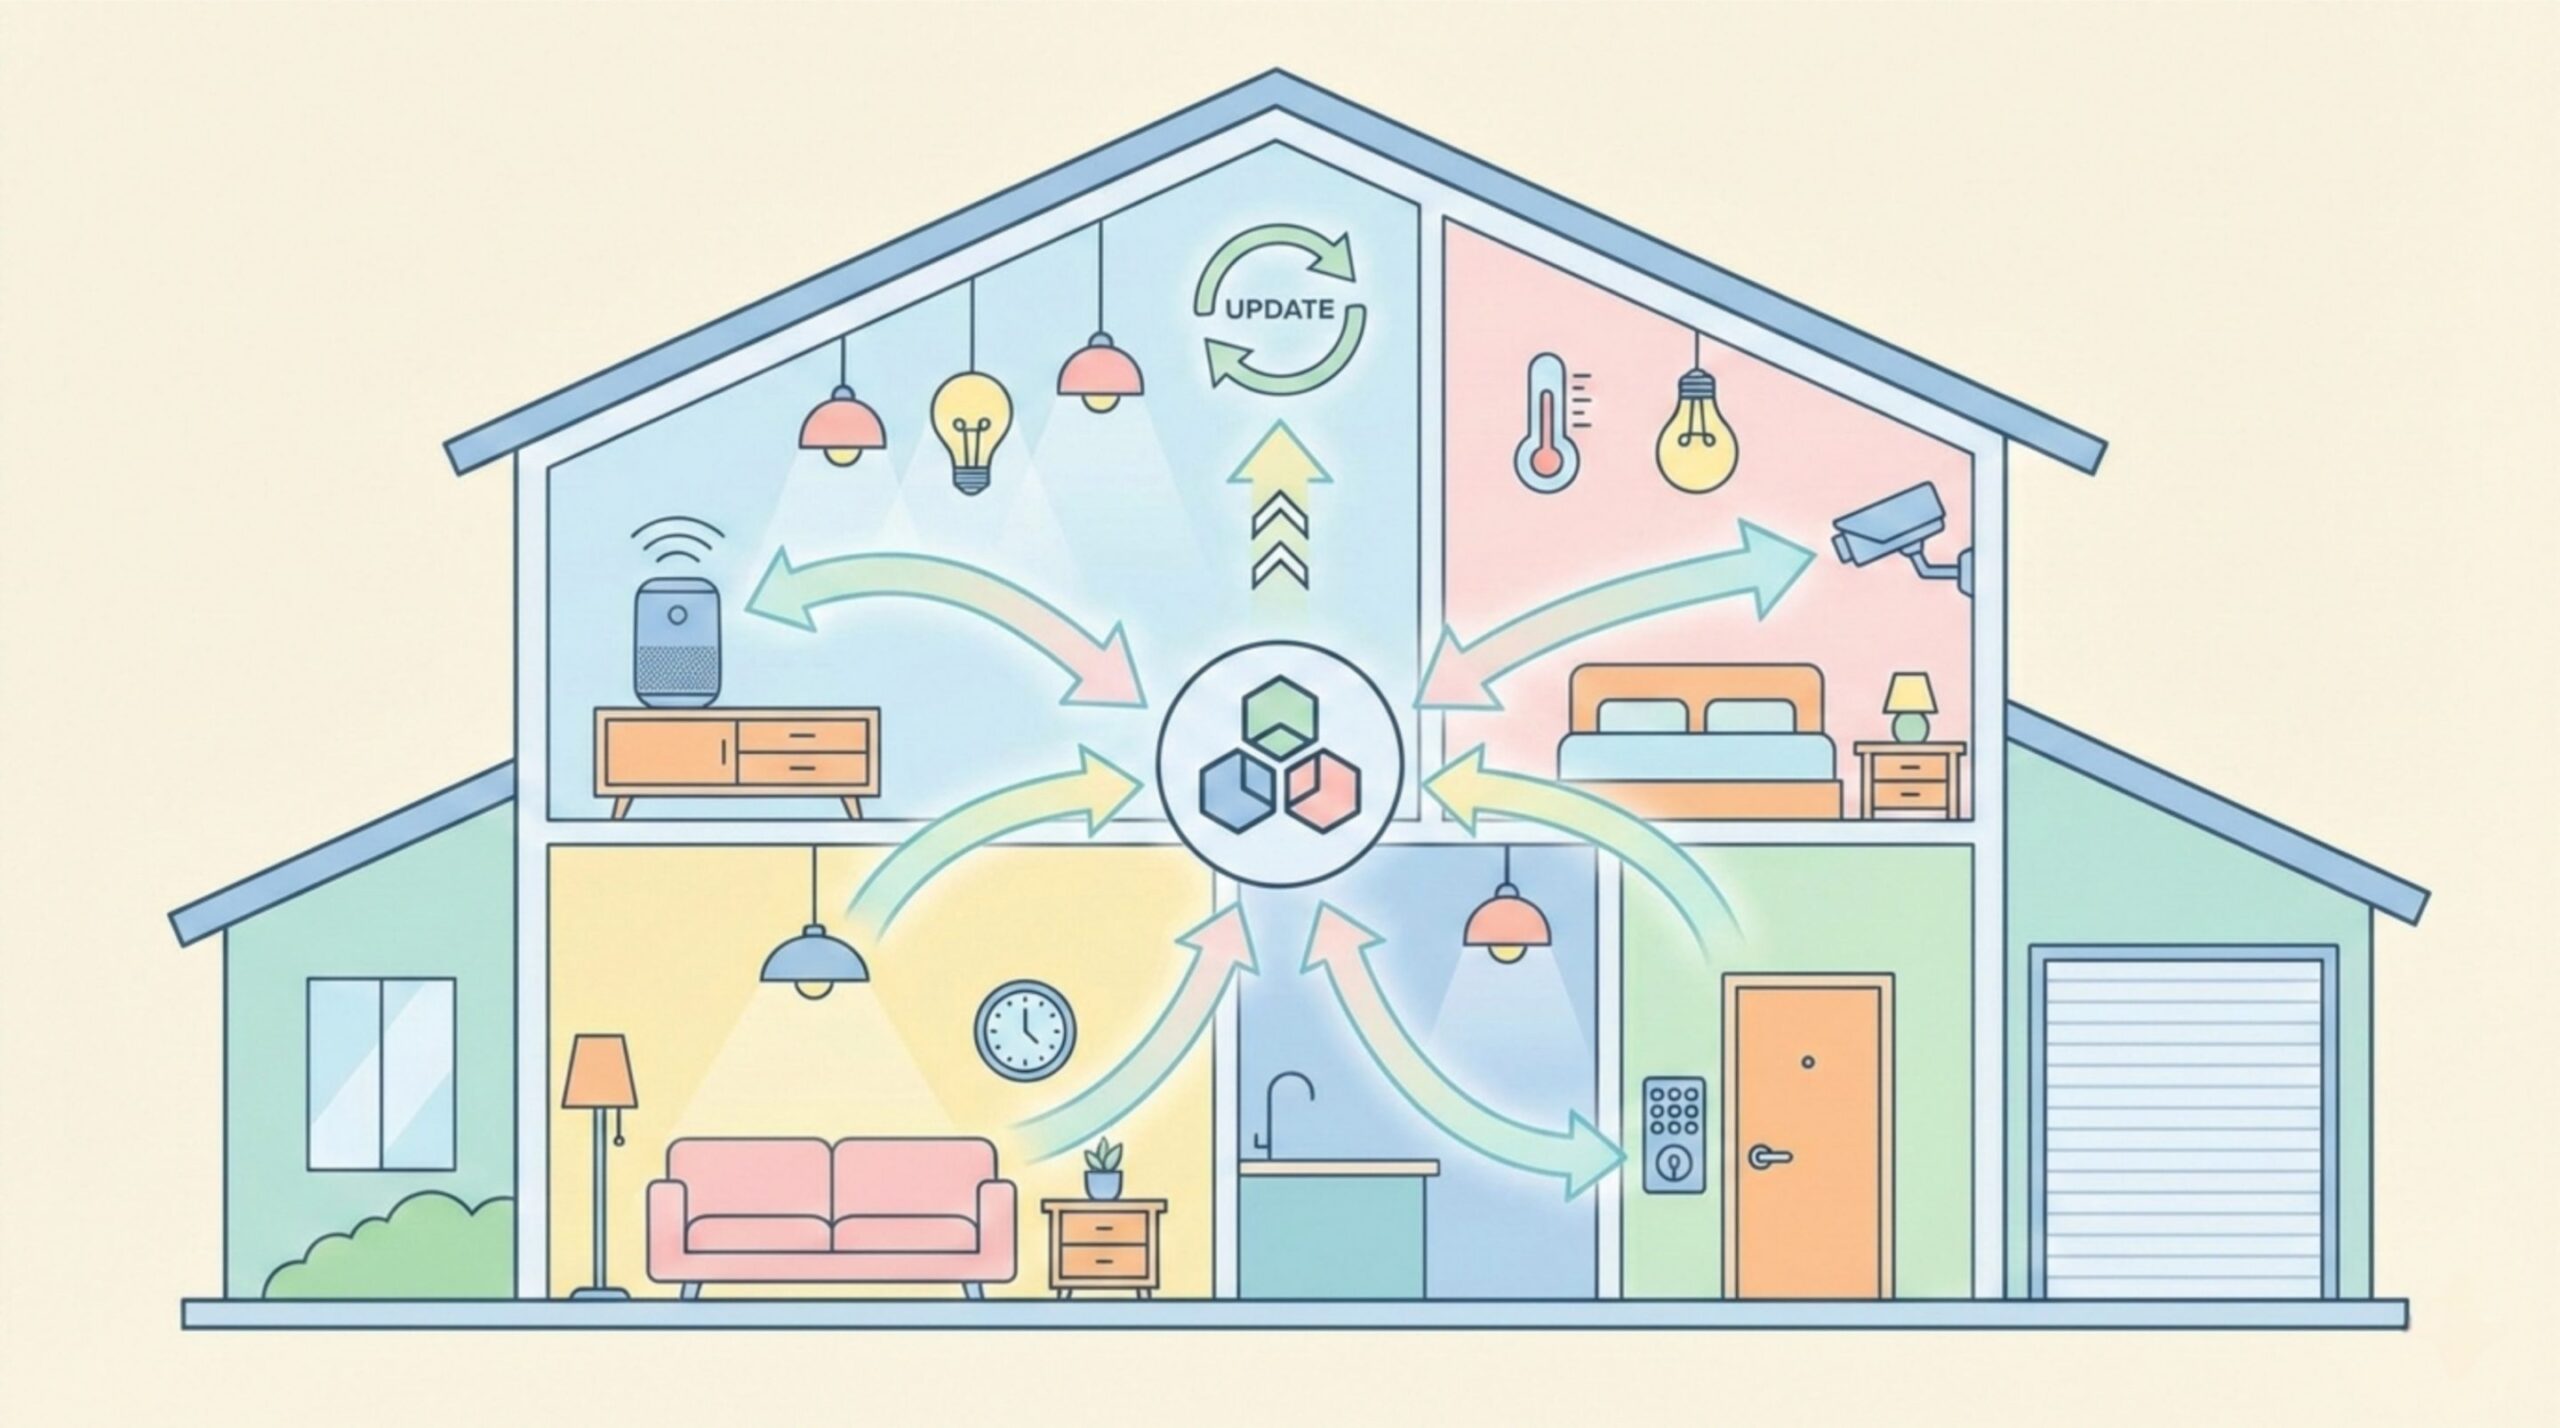
Assessing Your Setup
Begin with a thorough audit. List every smart device, noting its protocol and whether it bears Home Assistant Add-on Performance Optimization certification. Your hub must also support the standard to act as coordinator.
Check product docs for this technology logos. For existing devices, see if a firmware update adds support. If not, consider gradual replacement.
Pay attention to battery-powered devices—sensors, locks—which have unique requirements. Also evaluate Wi-Fi coverage; dead zones impair reliability. A mesh system may be necessary.
Implementing Home Assistant Add-on Performance Optimization
Follow these steps:
1. Hub Compatibility: Ensure your hub supports this technology. If not, upgrade or add software that provides this capability.
2. Purchase Certified Devices: Start small. Acquire certified lights, plugs, or sensors from reputable manufacturers.
3. Commission Devices: Use each manufacturer’s app to pair devices to your hub. Rename clearly and assign to rooms.
4. Test Automations: Create simple automations to verify responsiveness. Adjust as needed.
5. Document: Log device IDs, serials, MACs, and locations. This speeds future troubleshooting.
Troubleshooting
Common issues: devices not joining, intermittent connectivity, update failures. Restart hub and device, verify firmware, check network stability. Consult official docs for error codes; factory reset can help.
If pairing fails, ensure the device is in pairing mode and the hub is ready. For dropouts, examine Wi-Fi channel congestion, interference, and obstacles. Switching channels often resolves.
For Thread-based setups, ensure border routers are well-placed and powered. Weak batteries cause signal loss; replace promptly.
Optimizing Performance
Use a stable, high-quality Wi-Fi router with good coverage. For Thread, position border routers to minimize hops. Keep IoT traffic on a dedicated VLAN to isolate and reduce interference.
Configure QoS to prioritize critical packets, giving your hub and actuators higher priority.
Regularly review logs for warnings. Proactive maintenance—replacing batteries, updating firmware, keeping hub software current—keeps the system smooth.
Advanced Configuration
Fine-tune reporting intervals to balance battery life vs responsiveness. Create custom event handlers that leverage this technology. Integrate with platforms like Home Assistant for greater flexibility.
Always back up your configuration before major changes and test in a sandbox first.
Long-Term Maintenance
Schedule quarterly audits: verify devices are online, check firmware, review logs. Replace aging hardware before it fails.
Maintain an inventory spreadsheet: Device Name, Type, Firmware Version, Last Checked, Location. Update after each audit.
Monitor industry developments. Standards evolve; new versions bring security enhancements and device types. Manufacturers add support via updates. Staying informed keeps your home cutting-edge.
Conclusion
Embracing Home Assistant Add-on Performance Optimization means investing in an open, secure, adaptable smart home. You now have a roadmap to evaluate, adopt, and maintain a standards-based ecosystem. Start small, learn as you grow, and enjoy the seamless automation that Home Assistant Add-on Performance Optimization enables.
For additional context, see Matter over Thread vs Wi-Fi.
For additional context, see What is a Smart Home?.
Final Thoughts
Remember that Home Assistant Add-on Performance Optimization is part of a larger ecosystem. Pair it with good power backup and network redundancy for maximum resilience.
Regularly review your setup to ensure it meets your needs. As your family grows or routines change, your smart home should adapt accordingly.
A well-implemented system not only simplifies daily life but also adds value to your home. Plan for scalability from the start.
Additional Insights
Many users overlook network hygiene. A dedicated VLAN, updated firmware on all network equipment, and strong Wi-Fi passwords are foundational.
Power backup is underrated. A UPS for your hub and router ensures continuity during outages.
Documentation is key. Keep a master list of device serial numbers, MAC addresses, and locations. Store it digitally and physically.
Join online communities. Shared experiences accelerate learning and help you avoid pitfalls already solved.
Consider the environmental impact: choose energy-efficient devices and dispose of old electronics responsibly.