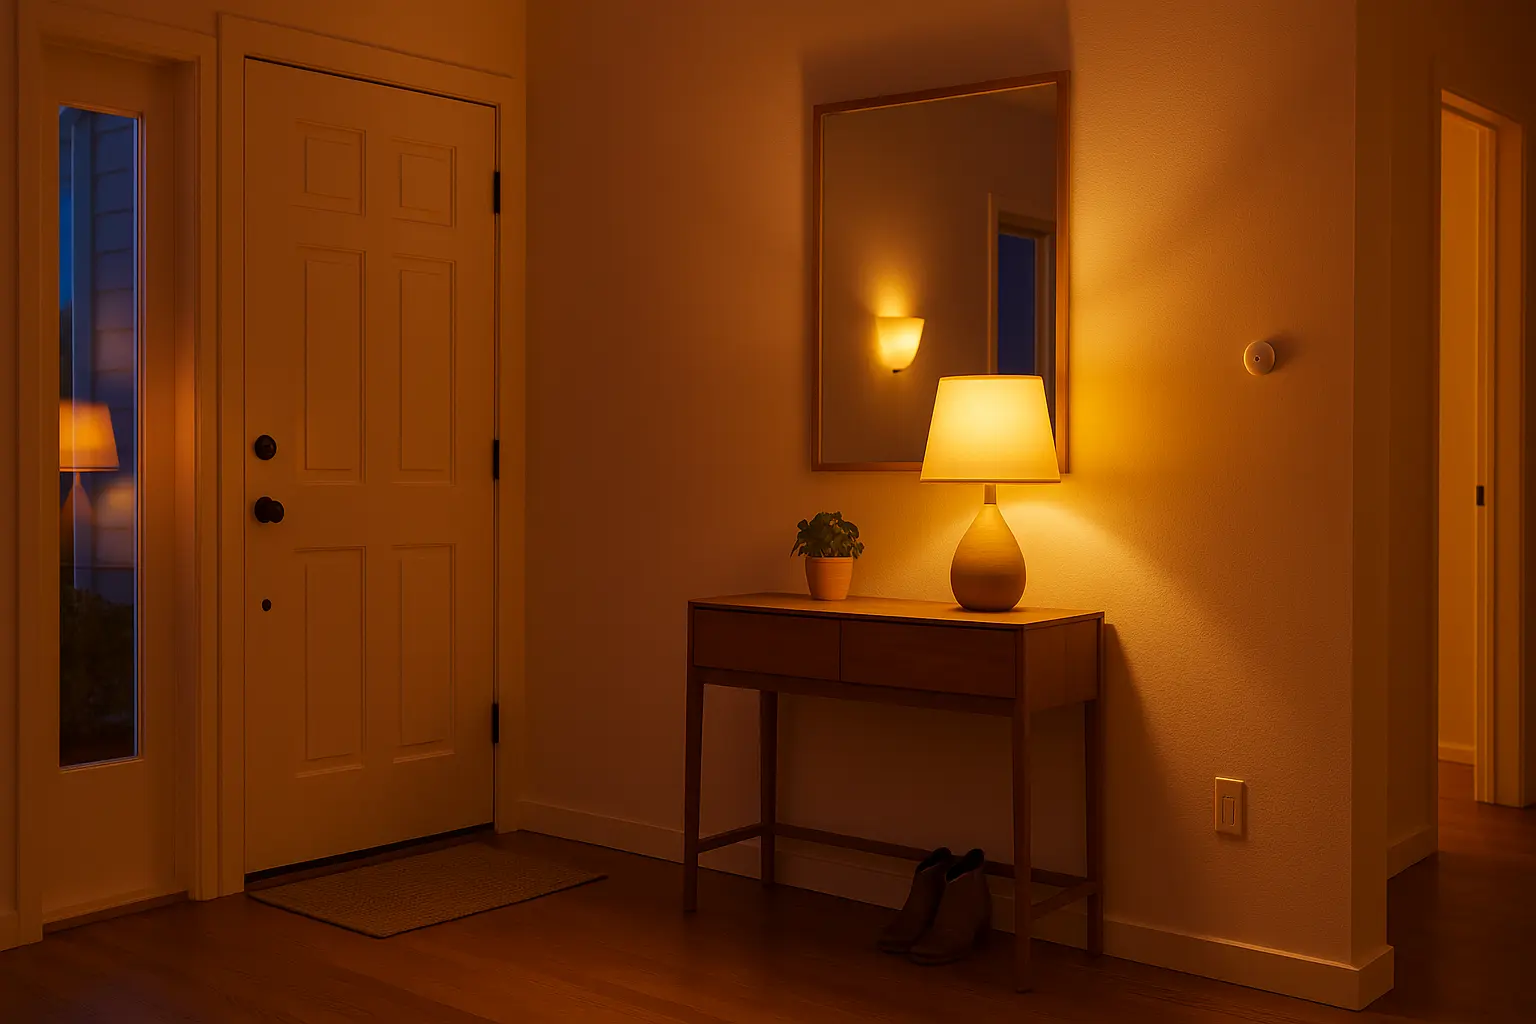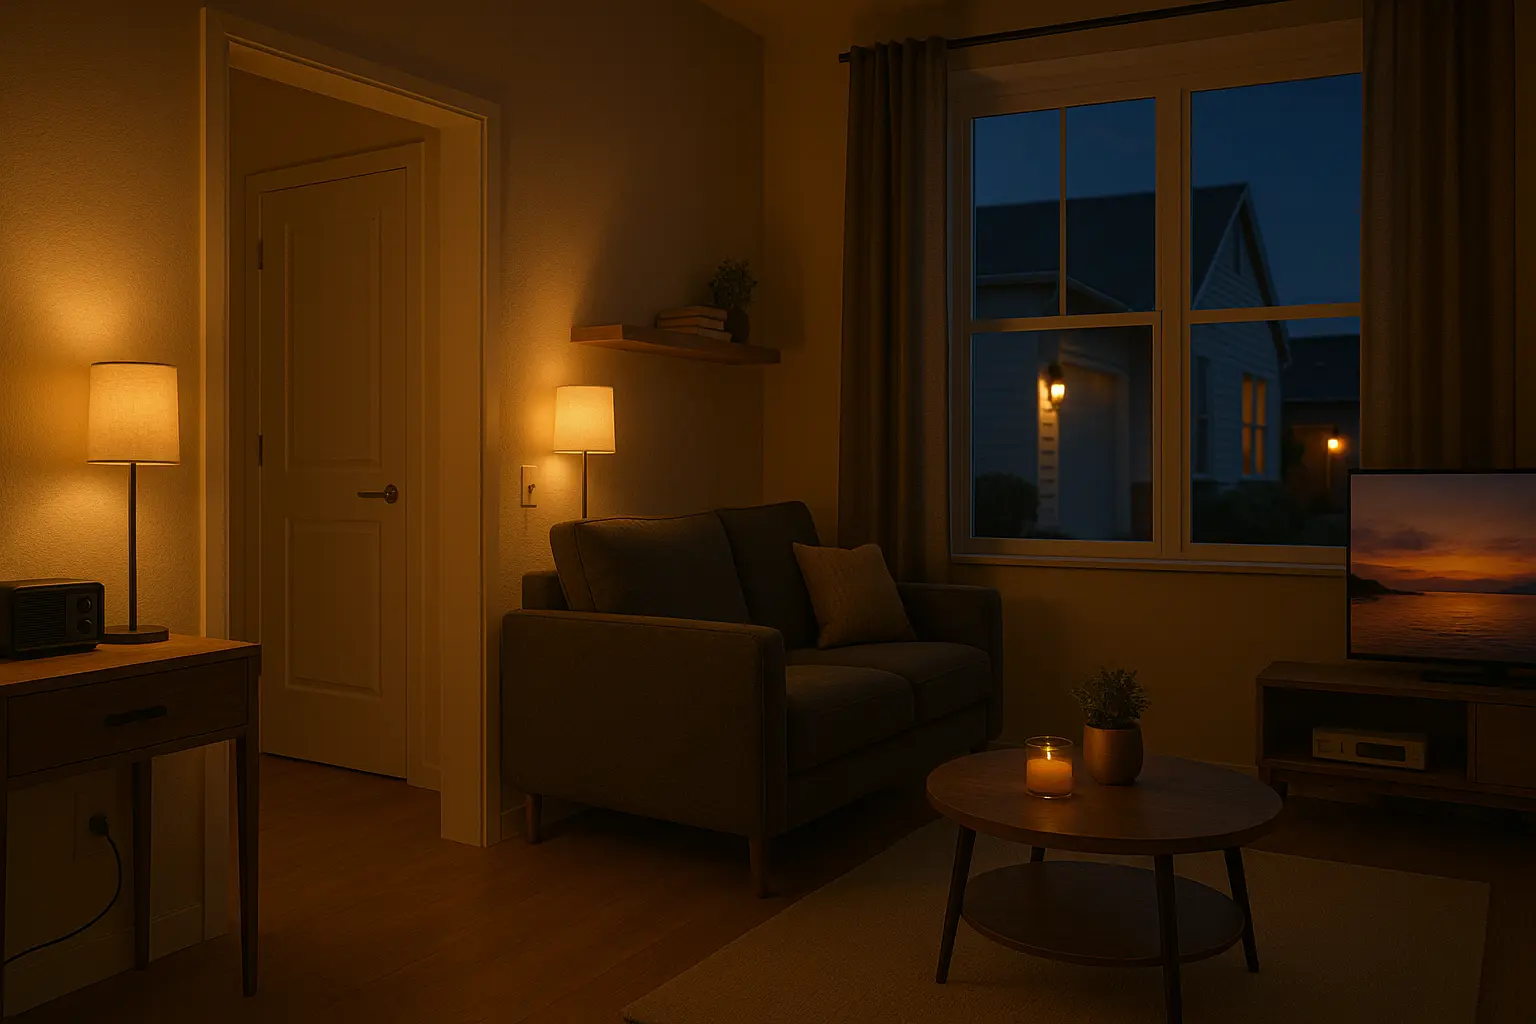
One of the first and most impactful automations I build for my clients is the “Welcome Home” scene. There’s a universal, almost primal discomfort in returning to a dark, silent, and cold house. You fumble for your keys, then for the light switch, and the home feels dormant and unwelcoming. For my clients, we transform that moment completely. Imagine this instead: as you pull into your driveway, your porch light and entryway light fade on softly. The moment you unlock the door, the thermostat kicks in, your favorite low-key playlist begins to stream, and a path of light guides you into the living room. This isn’t science fiction; it’s a perfectly achievable, highly reliable automation that sets the tone for your entire evening.
In my years of designing and implementing these systems, I’ve learned that a great “Welcome Home” scene is more than just a convenience—it’s about creating a sense of security, comfort, and personal care. It’s your home actively anticipating your needs. In this guide, I’ll walk you through the same process I use with my clients, from choosing the right components to building the complex logic that makes the magic happen. We’ll cover the triggers, the conditions, and the actions that separate a basic routine from a truly intelligent and personalized experience.
The Core Components: Your “Welcome Home” Toolkit
Before we dive into the “how,” we need to understand the “what.” A robust automation is built on a foundation of reliable hardware. While you can start simple, here are the key building blocks I recommend for a comprehensive scene.
1. The Brain: A Smart Home Hub
While you can create simple routines within the Amazon Alexa or Google Home apps, a dedicated smart home hub is the true key to unlocking advanced automation. The hub acts as the central nervous system for your smart home, allowing devices from different brands to communicate and enabling more complex logic.
- My top recommendations: Hubitat Elevation, Home Assistant (for the tech-savvy DIYer), or Samsung SmartThings.
- Why it’s crucial: These hubs can process logic locally (without relying on the internet), which means your automations are faster and more reliable. They also support a wider range of devices and triggers, like geofencing for multiple users.
2. The Trigger: How Your Home Knows You’ve Arrived
This is the starting pistol for your automation. The trigger is the event that tells your hub, “Okay, they’re home!”
- Smart Lock: Unlocking the front door (either with a code or your phone) is one of my favorite triggers. It’s definitive and secure.
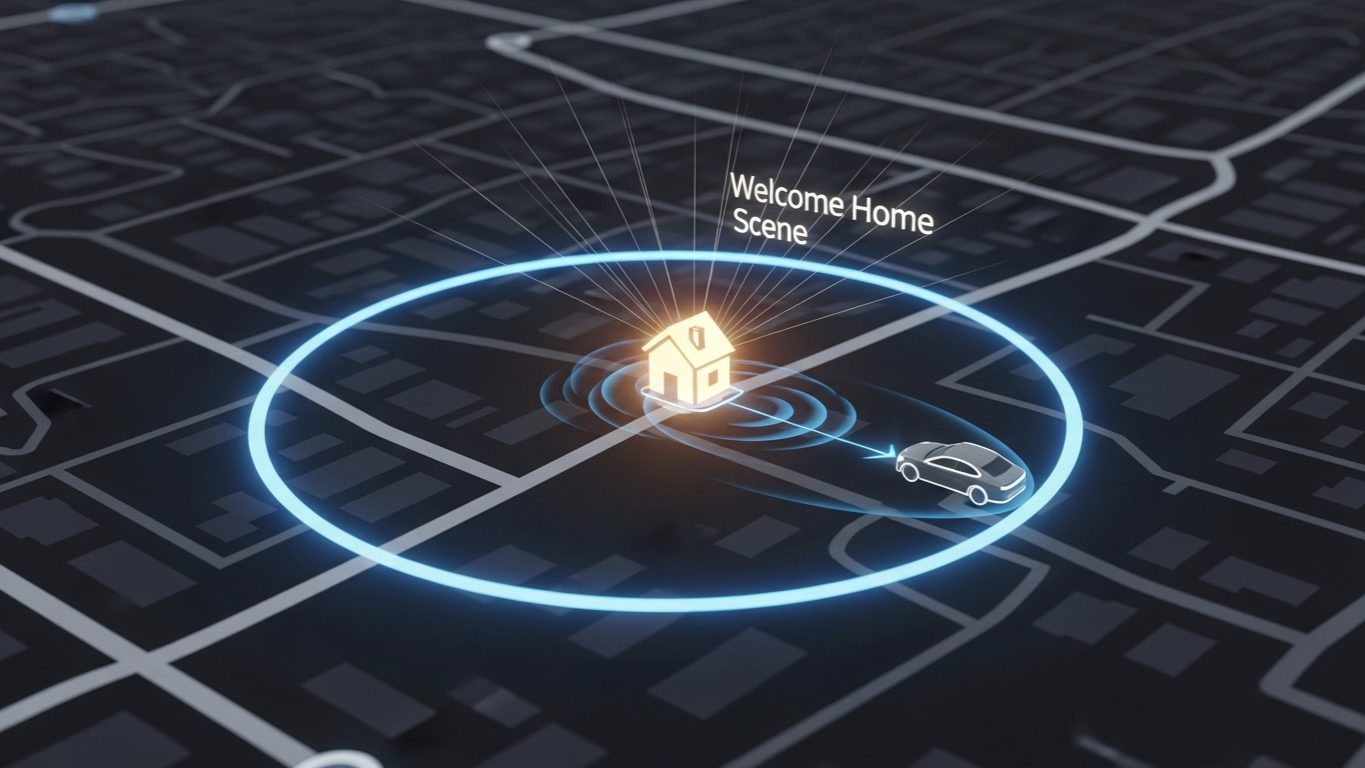
- Geofencing: Using your smartphone’s GPS to create a virtual perimeter around your home. When you cross this line, the scene begins. This is great for pre-arrival actions like turning on exterior lights.
- Sensors: A contact sensor on your garage door or a motion sensor in your entryway can also serve as effective triggers.
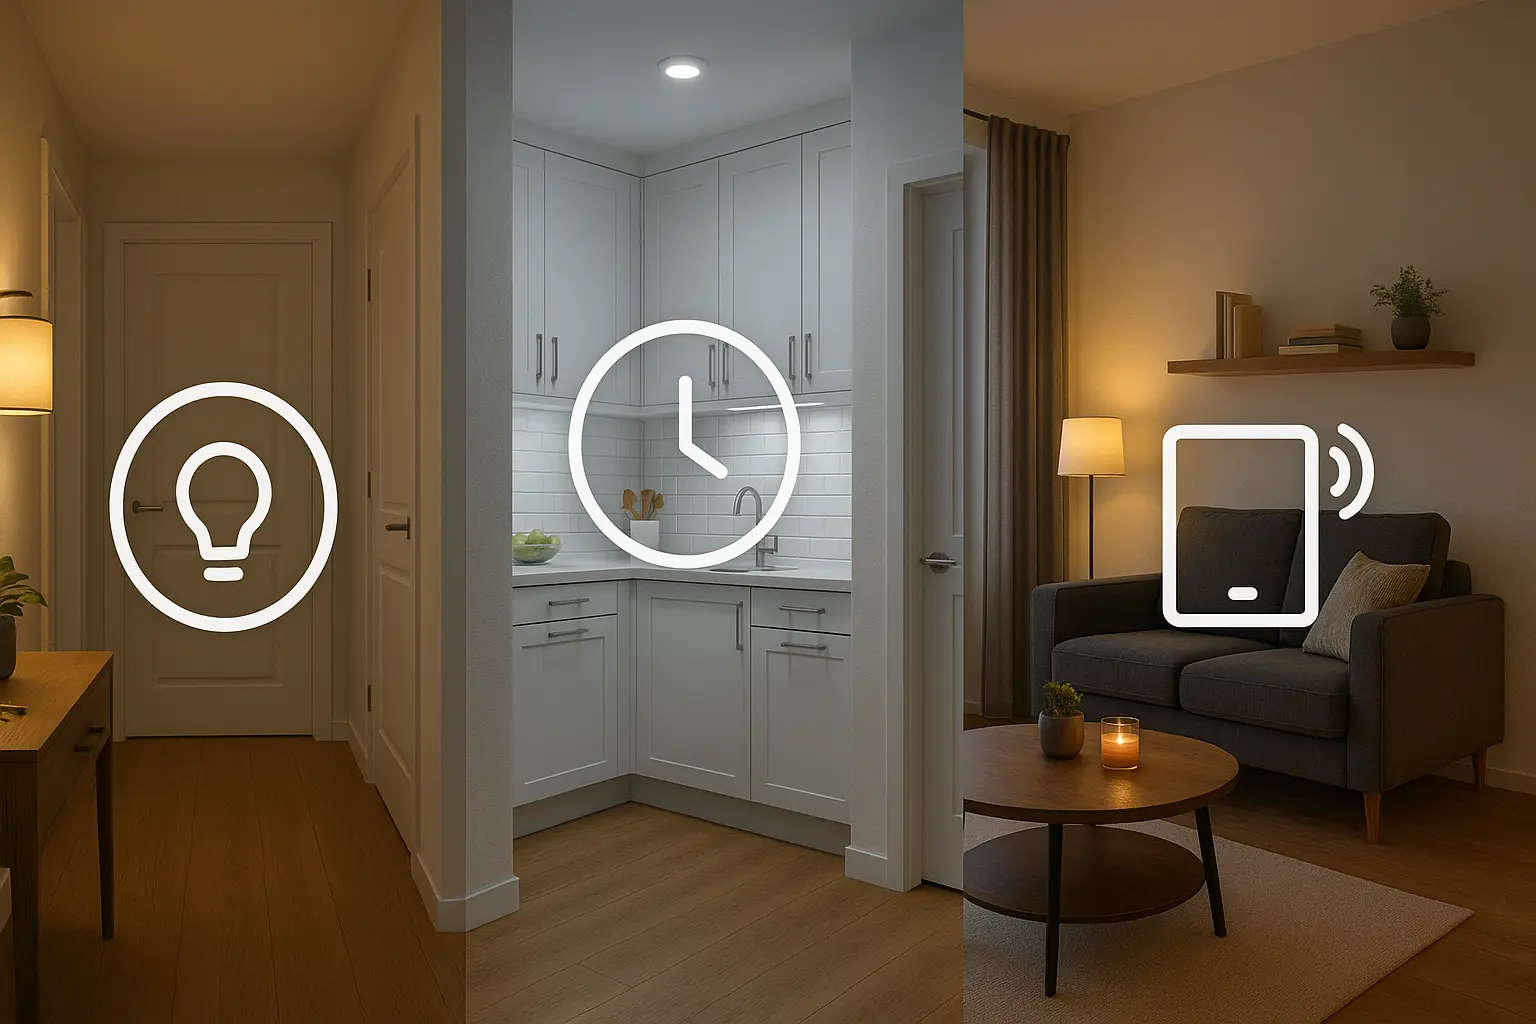
3. The Actions: The Devices That Do the Work
These are the devices that will respond to your trigger. You can start with one or two and build from there.
- Smart Lighting: This is non-negotiable. Smart bulbs, switches, or plugs are the heart of the scene. I highly recommend dimmable bulbs that can also change color temperature (from a cool white to a warm, cozy yellow).
- Smart Thermostat: A Nest, Ecobee, or Honeywell smart thermostat can be set to your preferred “home” temperature upon arrival.
- Smart Speakers: Use an Amazon Echo or Google Nest speaker to play music, a podcast, or a welcome-home announcement.
- Other Devices: Think about smart blinds, smart plugs for lamps or fans, or even a smart air purifier.
Building the Automation: A Step-by-Step Walkthrough
Now, let’s put the pieces together. The logic is where the real intelligence lies. A well-designed automation needs not just a trigger, but also conditions to ensure it only runs when it’s supposed to.
Step 1: Choose Your Primary Trigger
Start with one, reliable trigger. For most people, geofencing is the best starting point because it can prepare the house before you even touch the door. In your hub’s app (like Hubitat’s Rule Machine or Home Assistant’s Automations), you’ll create a new rule and select the trigger: “When [Your Name]’s Phone enters the Geofence.”
Pro-Tip: Don’t make your geofence too small. A radius of 150-200 meters is a good starting point. A tiny radius can lead to false triggers if your phone’s GPS drifts, or it might not trigger until you’re already at the door, defeating the purpose of pre-arrival actions.
Step 2: Add Your Conditions (The “Smart” Part)
This is the most critical step to avoid annoying misfires. You don’t want your “Welcome Home” scene running at 2 PM on a bright, sunny day. Here are the conditions I always add:
- Condition 1: Time of Day. Add a condition that the automation will ONLY run if it’s after sunset. Most hubs can automatically check this. The logic would be: “Trigger when I arrive, BUT ONLY IF current time is between Sunset and Sunrise.”
- Condition 2: Home Occupancy. You don’t want the scene to trigger if someone is already home. Your hub should have a “mode” or status for the house (e.g., Home, Away, Night). Add a condition: “AND ONLY IF the House Mode is ‘Away’.” When you leave, a separate “Goodbye” scene should set the house to “Away.”
- Condition 3 (Optional): Day of the Week. Maybe you have a different routine for weekdays vs. weekends. You can add a condition for this as well.
Step 3: Define Your Actions (The Payoff)
This is where you orchestrate the experience. Remember to think about timing and sequence. You can add small delays between actions to make it feel more natural.
- Exterior Lights On: Porch light to 100%, pathway lights to 60%.
- Unlock Front Door: If your trigger wasn’t the lock itself.
- Entryway Lights: Set entryway light to 80% brightness and a welcoming warm white (around 2700K).
- Delay 10 seconds.
- Living Room Scene: Set living room lamp to 50% warm light. Set main overhead light to 30%.
- Adjust Thermostat: Set thermostat to your “Home” comfort setting (e.g., 70°F / 21°C).
- Play Music: Tell your living room smart speaker to play your “Chill Welcome” playlist at 30% volume.
- Set House Mode: The final action should always be to change the house mode from “Away” to “Home.” This prevents the automation from re-running if another household member arrives.
Solving the “Chaotic Arrival” for a Family Client
I recently worked with a client, the Johnsons, a family with two working parents and two teenagers. Their biggest frustration was the evening arrival. The parents would come home from work to a dark house, laden with groceries and work bags. The kids would often forget their keys and be locked out after school. We designed a multi-layered “Welcome Home” scene to address everyone’s needs. For the parents, we used geofencing as the primary trigger. As they neared home, the garage door would open, the garage and kitchen lights would turn on, and the thermostat would adjust. This solved the “fumbling in the dark with groceries” problem. For the teenagers, who didn’t always have their phones, we used the smart lock as the trigger. Each teen had a unique, easy-to-remember code. When they entered their code, the door would unlock, the entryway light would turn on, and a Sonos speaker would announce, “[Teen’s Name] is home!” to the parents’ phones, providing peace of mind. By using different triggers for different family members, we created a system that was both convenient and secure for everyone.
“My Welcome Home Scene Triggers When I’m Not Actually Home!”
This is one of the most common complaints I hear from people who have tried to set this up themselves. The culprit is almost always an unreliable geofence trigger. This often happens when you work or frequent a location very close to your home. Your phone’s GPS might drift slightly, placing you inside your geofence for a moment and triggering the entire scene. Here is my troubleshooting checklist:
- Increase Your Geofence Radius: As mentioned before, a larger circle (200-300 meters) is more stable and less prone to GPS drift.
- Check Phone’s Location Settings: For the hub’s app on your phone, ensure Location Access is set to “Allow all the time” or “Always.” If it’s set to “Only while using the app,” geofencing will not work reliably in the background.
- Disable Battery Optimization: This is a big one, especially on Android phones. Aggressive battery-saving features can “kill” the hub app when it’s running in the background, preventing it from reporting your location accurately. You must go into your phone’s settings and exempt your smart home app from any “Battery Optimization” or “Deep Sleep” features.
- Introduce a Second Condition: If all else fails, add a secondary confirmation trigger. For example, the scene only runs if “Geofence is entered” AND “Phone connects to Home Wi-Fi.” This dual-check is extremely reliable, though it means the scene won’t trigger until you’re right at the house, as Wi-Fi range is limited.
Final Thoughts: Start Simple, Build Complexity
Creating your first automated “Welcome Home” scene is a gateway to understanding the true power of an integrated smart home. My advice is to start small. Begin with a single smart bulb in your entryway triggered by opening the front door after sunset. Live with it, see what you like, and identify what’s missing.
From there, you can layer in more devices and more complex logic. Perhaps you add a “Welcome Home, Daytime” scene that just opens the blinds, and a “Welcome Home, Late Night” scene that uses much dimmer, night-light-level lighting.
The goal is to build a home that responds to you, making your life safer, more convenient, and more enjoyable. That moment of walking into a perfectly prepared home is a small, daily luxury that you’ll quickly wonder how you ever lived without.