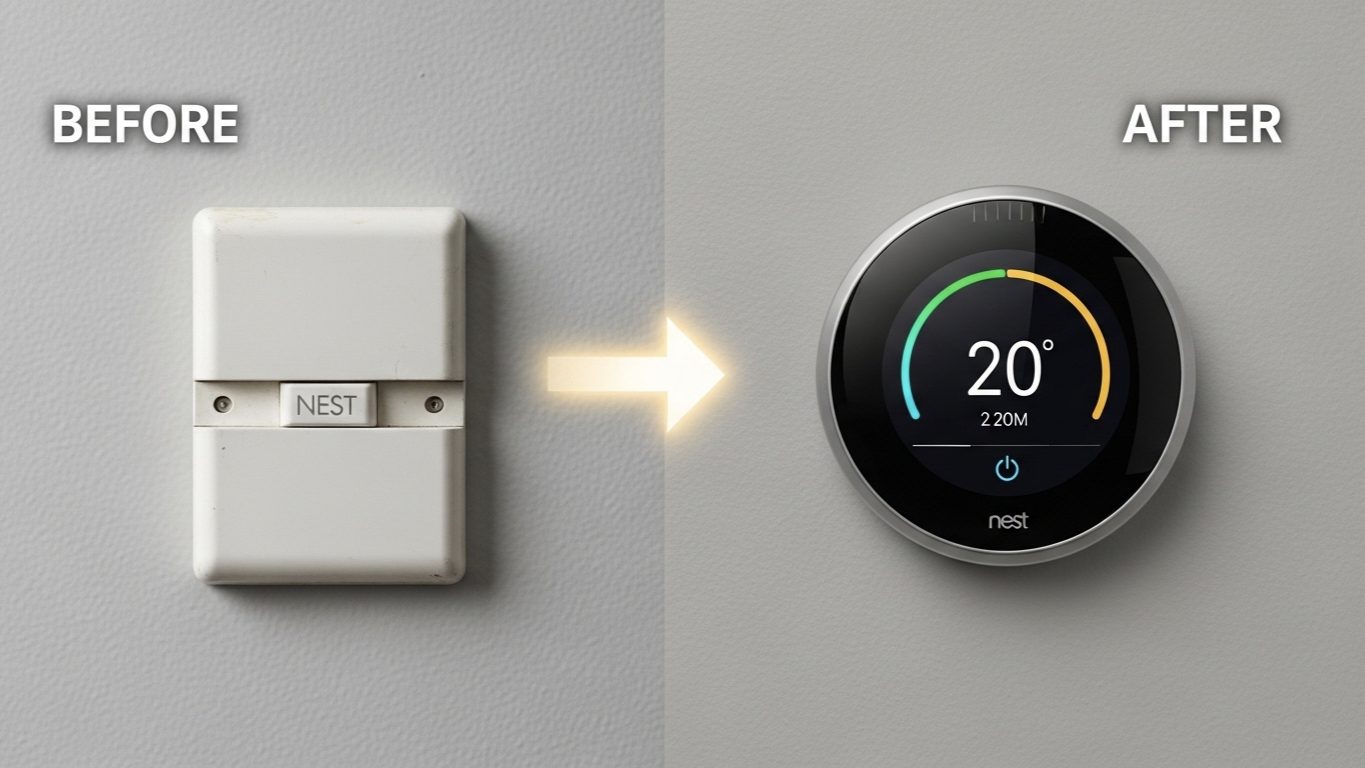
I’ve seen firsthand which upgrades provide the most significant return on investment. While flashy lights and smart speakers are fun, nothing impacts your daily comfort and your wallet quite like a smart thermostat. Devices like the Google Nest Learning Thermostat aren’t just remote controls; they are intelligent brains for your home’s heating, ventilation, and air conditioning (HVAC) system, learning your habits to save energy without sacrificing comfort.
Many of my clients are surprised when I tell them that, in most cases, installing a smart thermostat is a perfectly manageable DIY project. It requires a bit of care, but it’s far less intimidating than it looks. The key is preparation and following a clear, proven process.
In this guide, I will walk you through the exact steps I follow for a standard installation. We will treat your safety as the top priority and ensure you have the confidence to give your home this powerful upgrade.
The Pre-Installation Checklist: Your 10-Minute Prep
Success in any DIY project comes from preparation. Before you even touch a screwdriver, let’s run through this crucial checklist.
1. SAFETY FIRST: Kill the Power!
This is non-negotiable. Your HVAC system uses low voltage for the thermostat wires, but the system itself is connected to a high-voltage circuit. Go to your home’s breaker box and find the circuit breaker that powers your furnace and air conditioner. Switch it to the OFF position. I always tell my clients to try and turn on the fan from their old thermostat to confirm the power is truly off.
2. Check Compatibility
Most modern homes are compatible, but it’s essential to check. The biggest hurdle is often a wire called the “C-wire” or “Common wire,” which provides continuous power to the thermostat. Google has an excellent online Nest Compatibility Checker. Take the faceplate off your old thermostat and use this tool to see if your system is a match.
3. Gather Your Tools
You don’t need a professional toolbox. For most installations, all you’ll need is:
- A Phillips head screwdriver
- Needle-nose pliers (optional, but helpful)
- Your smartphone (for photos and the app)
- The smart thermostat kit (which usually includes screws and a trim plate)
The Step-by-Step Installation Process
Step 1: Remove Your Old Thermostat’s Faceplate
Most old thermostats simply pull straight off the wall plate. Others might have a small screw at the bottom. Once it’s off, you’ll see the bundle of wires connected to terminals.
Step 2: The Most Important Step – Label Everything!
Before you disconnect a single wire, take a clear photo of the current wiring with your phone. Pay attention to which color wire goes into which labeled terminal (e.g., Red wire to ‘R’, White wire to ‘W’, etc.). The Nest Thermostat comes with little wire label stickers. Use them! Place the corresponding sticker on each wire before you disconnect it. This is the step that prevents 99% of installation headaches.
Step 3: Disconnect Wires and Remove the Old Base
With everything labeled, carefully disconnect the wires from their terminals (you may need to press a small tab or unscrew a screw). Once all wires are free, unscrew the old base plate from the wall and gently pull it away, feeding the wires through the central hole.
Step 4: Install the New Nest Base
Your Nest kit will likely include a trim plate to cover any old paint or holes. Attach this first if needed. Then, feed the wire bundle through the center of the Nest base plate. Use the built-in bubble level to make sure it’s straight, and secure it to the wall with the provided screws.
Step 5: Connect the Wires
This is where your labeling pays off. The Nest base has easy-to-use push-in connectors. Simply match your labeled wires to the corresponding terminal on the Nest base and push the wire in firmly until it clicks into place. (e.g., The ‘R’ wire goes into the ‘R’ terminal). Give each wire a gentle tug to ensure it’s secure.
Step 6: Attach the Nest Display and Restore Power
With all the wires connected, gently push the main Nest display onto the base until you hear a satisfying ‘click’. Now, you can go back to your breaker box and switch the HVAC power back ON. The Nest display should power up and greet you.
Step 7: Complete Setup in the App
The Nest will guide you through the initial on-screen setup (like connecting to Wi-Fi). You’ll then use the Google Home app on your phone to finish the process, configuring your temperature schedules and preferences.
Saving Money for a Busy Family
I worked with the Johnson family, who had a highly unpredictable schedule with work, school, and after-school activities. They were constantly running their AC or heat in an empty house because they’d forget to change the thermostat when they left. Their energy bills were consistently high.
The Problem: A “dumb” thermostat that required constant manual adjustment, which didn’t fit their dynamic lifestyle.
The Solution: We installed a Google Nest Learning Thermostat. We didn’t even set a complex schedule at first. We simply enabled its core “smart” features:
- Learning Schedule: For the first week, they just adjusted the temperature as they normally would. The Nest observed these patterns and built an automatic schedule for them.
- Home/Away Assist: Using their phones’ locations, the Nest automatically switched to an energy-saving “Eco” temperature whenever it detected the house was empty, and pre-heated or pre-cooled the house just before they arrived home.
The Result: After two months, they reported a nearly 20% reduction in their heating and cooling costs. The Nest didn’t just give them remote control; it automated their energy savings by adapting to their real-world life, removing the burden of remembering to be efficient.
Help! I Don’t Have a C-Wire!
You’ve followed the steps, opened your old thermostat, and your heart sinks. You don’t see a wire going into the “C” terminal. This is the most common DIY roadblock.
The Challenge: The C-wire provides continuous 24V power. Without it, some smart thermostats have to “pulse steal” power from other wires, which can sometimes lead to instability or system issues.
The Expert Solution: You Have Options.
- Check for a Hidden Wire: First, gently pull the wire bundle a little further out from the wall. Often, the installer tucked an unused wire (frequently blue) back into the wall. If you find one, you can use it as your C-wire (you’ll just need to connect the other end of it to the ‘C’ terminal on your HVAC system’s control board).
- Use the Nest Power Connector: Newer Google Nest Thermostats often come with a device called the Nest Power Connector. This is a small adapter that you install at your furnace’s control board. It’s a fantastic, officially supported solution that works with most systems and doesn’t require running a new wire through your walls. The instructions are very clear.
- When to Call a Pro: If you’re not comfortable opening the panel on your furnace to check for a hidden wire or install the Power Connector, this is the time to call an HVAC technician or a smart home integrator. It’s a quick job for a professional and ensures your system is wired safely and correctly.
My Final Verdict: A Worthwhile Weekend Upgrade
For most homeowners, installing a smart thermostat is one of the most rewarding and impactful DIY projects you can undertake. It’s a tangible upgrade that improves your home’s comfort, saves you real money, and makes your house smarter.
By following these steps, preparing properly, and prioritizing safety, you can confidently install this device yourself and enjoy the benefits for years to come.