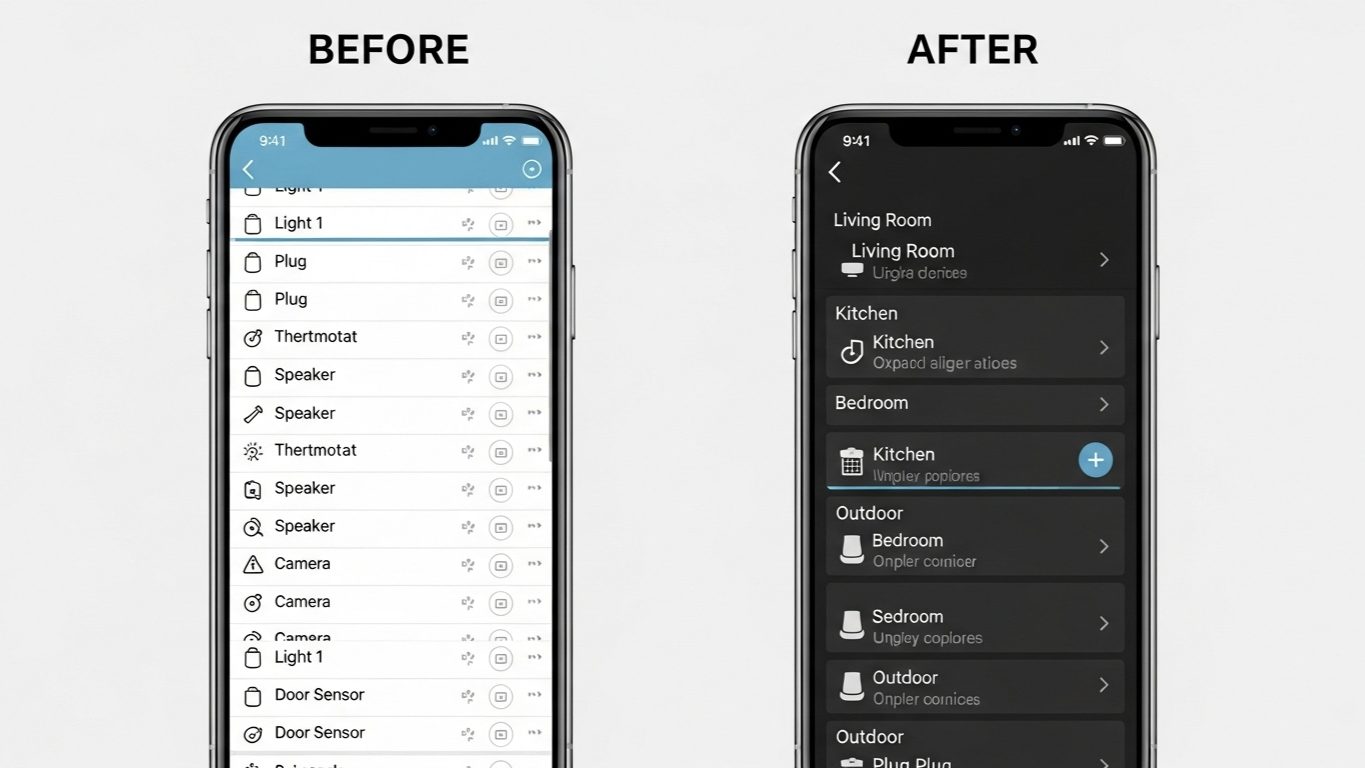
I often see the same story unfold. A client starts with one Echo Dot and a smart plug. Then they add some smart bulbs. Then a thermostat. Before they know it, they have 20 or 30 devices, and their Alexa app’s device list is a chaotic, jumbled mess. When they try to use a voice command, they have to remember the exact, clunky name they gave each device: “Alexa, turn on ‘Smart Plug Outlet 2’.”
This is the point where the magic of a smart home can turn into a chore. The secret to making your smart home feel intuitive, natural, and powerful isn’t just about adding more devices; it’s about organizing them logically.
Taking just 15 minutes to properly organize your devices into Rooms and Groups within the Alexa app is the single most impactful, non-cost upgrade you can make to your smart home. In this guide, I’ll walk you through the simple, professional process I use to bring order to chaos and make your voice commands work the way you think.
The Core Concept: Rooms and Groups are Your Superpower
The goal of organizing your app is to allow you to speak to Alexa like you would speak to a person. You don’t walk into a room and think, “I need to activate ‘Ceiling Light 1,’ ‘Ceiling Light 2,’ and ‘Floor Lamp Right’.” You think, “I need to turn on the lights in here.”
The Alexa app’s “Groups” feature (which is used to create rooms) is what makes this possible. By grouping devices together based on their physical location, you unlock two powerful capabilities:
- Group Control: You can control all devices of a certain type within a group at once. For example, “Alexa, turn on the Living Room lights.”
- Contextual Commands: This is the magic. If you have an Echo device placed inside a Group, it becomes “room-aware.” If you’re in the living room and speak to the Living Room Echo, you can just say, “Alexa, turn on the lights.” The Echo knows which room it’s in and will only turn on the lights assigned to that same group.
This contextual awareness is the key to making your smart home feel truly intelligent.
Step 1: Renaming Your Devices (Creating a Clean Slate)
Before we start grouping, we need to clean up our device list. A device named “TP-Link Smart Plug A4:B2” is not helpful. Give every single device a simple, unique, and logical name.
- In the Alexa app, go to the “Devices” tab.
- Tap on a category (like “Lights” or “Plugs”), then select a device.
- Tap the gear icon in the top right to open the device settings.
- Tap “Edit Name” and give it a clear, simple name.
My Professional Naming Convention:
- Be descriptive but concise: “Ceiling Fan,” “Bedside Lamp,” “Office Monitor,” “Coffee Maker.”
- Avoid using the room name in the device name. Don’t name it “Kitchen Ceiling Light.” Name it “Ceiling Light” and then put it in the “Kitchen” group. This prevents confusion for Alexa.
- Avoid numbers if possible, unless they are distinct (e.g., “Bar Stool Light 1,” “Bar Stool Light 2”).
Step 2: Creating Your Rooms (Building the Structure)
Now, let’s build the virtual rooms that mirror your actual home.
- On the “Devices” tab, tap the “+” icon in the top right corner.
- Select “Add Group”.
- The app will ask what kind of group you want to create. Choose “Room or Device Group.”
- Select one of the pre-set room names (like “Living Room,” “Kitchen”) or create a custom name. Tap “Next.”
- On the next screen, you’ll see two lists: “Alexa Devices” (your Echo speakers) and “Devices” (your lights, plugs, etc.).
- This is the most important part: Add the Echo device that is physically in that room AND all the smart devices in that same room to the group. For example, for your “Bedroom” group, you should add your “Bedroom Echo Dot,” your “Bedside Lamp,” and your “Ceiling Fan.”
- Tap “Save”.
Repeat this process for every room in your home that has smart devices. Take your time and be thorough.
Step 3: Putting It All Together (Testing Your New Superpowers)
Once you’ve created your groups, it’s time to experience the payoff. Here’s a practical example to illustrate the difference.
Case Study: Before and After Organization
A client had a living room with an Echo Dot, two smart lamps (“Lamp 1,” “Lamp 2”), and a smart switch for the overhead light (“Main Light”).
The “Before” Experience (No Groups):
- To turn on all the lights, he had to say, “Alexa, turn on Lamp 1, Lamp 2, and Main Light.” It was a mouthful.
- If he was in the kitchen and wanted to turn on the living room lights, he had to use that same long command.
The “After” Experience (15 Minutes of Organizing):
- We renamed the devices to “Left Lamp,” “Right Lamp,” and “Overhead Light.”
- We created a group called “Living Room.”
- We added the “Living Room Echo Dot,” “Left Lamp,” “Right Lamp,” and “Overhead Light” to this group.
The Resulting Magic:
- Now, from any speaker in the house, he can say, “Alexa, turn on the Living Room lights,” and all three turn on at once.
- Even better, when he is in the living room, he can now walk up to his Living Room Echo Dot and simply say, “Alexa, turn on the lights.” Because the Echo is in the same group as the lights, it knows exactly which ones to turn on.
This is the difference between commanding a collection of individual gadgets and intuitively interacting with a smart room. The second experience is what a real smart home should feel like.
Pro Tip: Create Custom Groups for Specific Scenarios
Don’t stop at just rooms! The “Group” feature can be used for more than just physical spaces. For example:
- “Downstairs Lights”: Create a group called “Downstairs” and add all the lights from your Living Room, Kitchen, and Entryway groups to it. Now you have an easy “Alexa, turn off the downstairs lights” command for when you go to bed.
- “Outdoor Lights”: Group your smart floodlights, porch light, and landscape lighting together for simple control.
My Final Verdict: The Best 15-Minute Investment You Can Make
A disorganized app is the number one source of smart home frustration. It leads to unnatural commands, confusing control, and a feeling that the technology is fighting you.
Take 15 minutes today and follow this guide. Rename your devices with a clear convention and build groups for each of your rooms, making sure to include the Echo device from that room. I guarantee it will fundamentally change the way you interact with your home, making your voice commands shorter, more intuitive, and infinitely more powerful.