As a Smart Home Integrator, I’m a huge advocate for the Wyze Cam. For a fraction of the cost of traditional security cameras, they offer incredible video quality and features. One of the best developments was the release of the Wyze Cam v3 and the Wyze Cam OG, both of which come with an IP65 weather resistance rating. This officially opened the door to using these budget-friendly cameras for outdoor security.
However, “weather resistant” doesn’t mean “invincible.” Setting up a Wyze Cam for reliable, long-term outdoor use requires more than just screwing it to a wall. You need to think about power, placement, and protection from the elements.
Over the years, I’ve installed dozens of these cameras in outdoor settings for my clients. I’ve learned what works and what doesn’t. In this guide, I’ll walk you through my professional step-by-step process for setting up your Wyze Cam outdoors to ensure it not only survives but thrives.
Step 1: The Pre-Installation Bench Test (The Most Important Step!)
Do not skip this step! Before you drill a single hole or climb a ladder, set up your Wyze Cam indoors first. The last thing you want is to be perched on a ladder trying to troubleshoot a Wi-Fi or account issue.
- Unbox your Wyze Cam inside your house, close to your Wi-Fi router.
- Plug it in and follow the in-app instructions to add it to your Wyze account.
- Ensure it connects to your Wi-Fi and you can see a live video stream.
- Update the firmware to the latest version via the app.
- Insert a microSD card (if you’re using one) and make sure it’s recognized and formatting correctly.
Only once you have a fully functional camera sitting on your desk should you proceed to the outdoor installation.
Step 2: Choosing the Right Location (Placement is Everything)
Where you mount your camera is the most critical decision you’ll make. It’s a balance between getting the best view and protecting the camera.
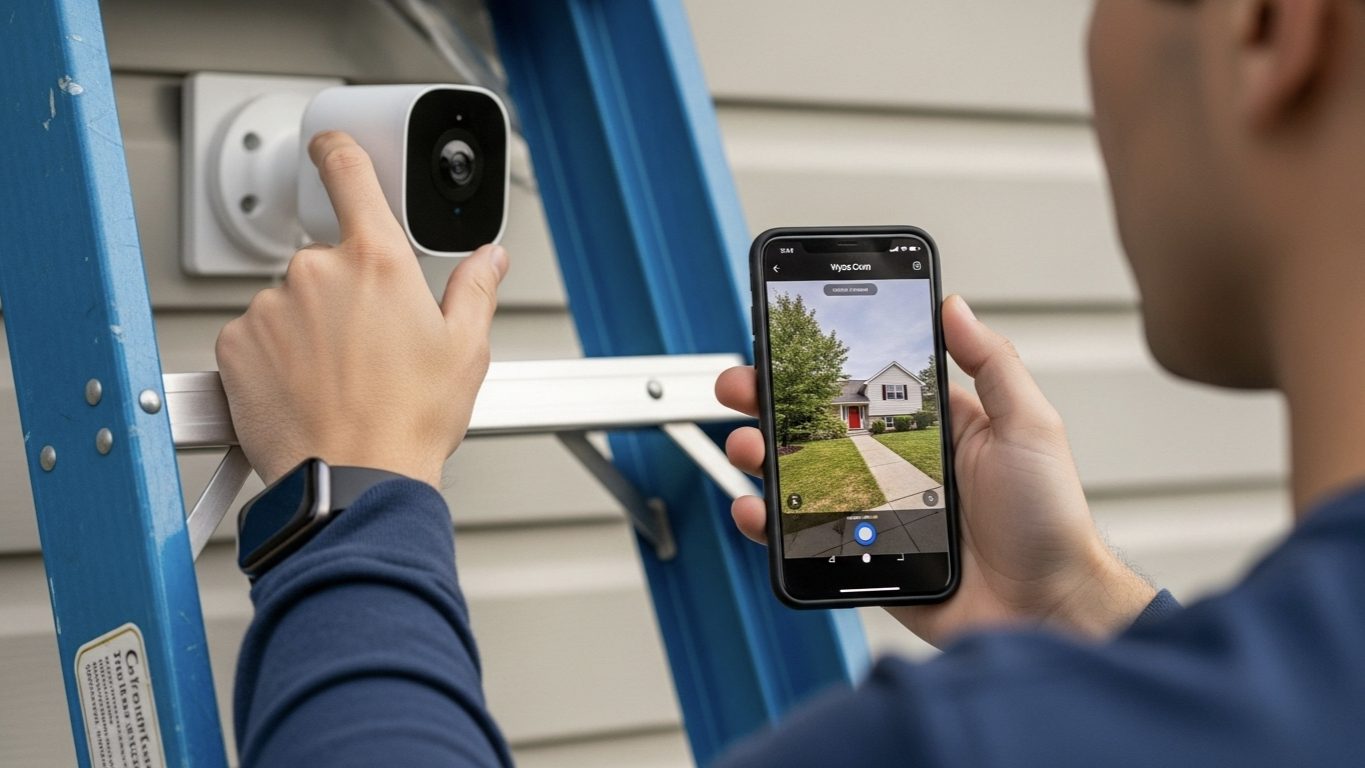
- Get the Right View: Use the live stream in the Wyze app on your phone. Walk around the area you want to monitor and hold the camera in potential spots. Check the field of view to ensure you’re capturing the target area (e.g., your entire driveway, your front porch) without major blind spots.
- Prioritize Shelter: An IP65 rating protects against rain and dust, but it doesn’t protect against direct, relentless sun or heavy snow buildup. My professional rule is to always mount the camera under some form of cover if possible. The eave of your roof, the ceiling of your porch, or under a windowsill are all ideal locations. This dramatically extends the life of the camera.
- Check Wi-Fi Strength: While you’re testing locations, keep an eye on the Wi-Fi signal strength in the Wyze app (Settings > Device Info > Wi-Fi Signal Strength). You want a signal with at least 2 out of 3 bars for a reliable connection. If the signal is weak, you may need to move your router or consider a mesh Wi-Fi system.
Step 3: Solving the Power Problem
This is the biggest logistical challenge of any outdoor camera installation. Wyze Cams are powered by a USB cable, and you need to get that power from an outlet to your camera’s location safely.
Option 1: Use a Weatherproof Outdoor Outlet
This is the most common and straightforward solution.
- Identify a nearby GFCI-protected outdoor outlet.
- Crucially, the standard USB power adapter that comes with your Wyze Cam is NOT weatherproof. You must plug it into an outlet that has a proper “in-use” weatherproof cover. This is the boxy, bubble-like cover that allows the outlet to remain protected even with a cable plugged into it.
- You may need a longer, outdoor-rated micro-USB or USB-C cable (depending on your Wyze model) to reach from the outlet to your camera. Wyze sells official outdoor power adapters with longer cables.
Option 2: Drill Through the Wall (The Cleanest Look)
For a more professional and hidden installation, you can drill a small hole through your home’s exterior wall or soffit to run the USB cable inside.
- From the outside, drill a small hole (just large enough for the USB plug) through the wall into an unfinished space like an attic, garage, or basement.
- Feed the USB cable through the hole.
- On the outside, seal the hole around the cable with a small dab of weatherproof silicone caulk to prevent water and pests from getting in.
- On the inside, you can then plug the camera into a standard indoor outlet.
Step 4: Mounting the Camera Securely
The Wyze Cam v3 and OG come with clever magnetic bases and mounting hardware, giving you a few options.
Case Study: My Go-To Mounting Method for Wood or Siding
Many of my clients want to mount the camera on a wooden eave or vinyl siding. While the included sticky pad works for a while, I don’t trust it for long-term outdoor use, especially in hot or humid climates. The magnet is strong, but a direct hit from a basketball could knock it loose.
My Professional Method:
- Separate the camera from its base.
- Take the small metal plate from the box. Use the included screw to securely fasten this metal plate directly to the mounting surface (e.g., the wooden eave). This provides a permanent, solid anchor point.
- Now, simply snap the magnetic base of the Wyze Cam onto the securely mounted metal plate.
The Result: This gives you the best of both worlds. The camera is held by a powerful magnet, making it easy to remove for cleaning or to access the microSD card. However, the base itself is screwed in, ensuring the entire unit will never fall off due to weather or adhesive failure. It’s a simple trick that adds a huge amount of security and peace of mind.
Step 5: Final Adjustments and App Configuration
Now that the camera is mounted and powered, it’s time to fine-tune it in the Wyze app.
- Adjust the Angle: Use the live view to get your final camera angle just right.
- Set Up Detection Zones: This is a critical step to avoid false alerts. In the app’s settings, draw a “Detection Zone” only around the areas you care about. For example, draw the zone around your walkway but exclude the public sidewalk or a tree that sways in the wind.
- Tweak Sensitivity: Start with the motion detection sensitivity at a medium level. If you’re getting too many false alerts, turn it down. If it’s missing events, turn it up.
- Turn on Night Vision: Make sure Night Vision is set to “Auto” so it will turn on automatically when it gets dark.
My Final Verdict: A Little Planning Goes a Long Way
The Wyze Cam is a fantastic and affordable tool for outdoor security, but it’s not a rugged, professional-grade camera. It needs to be treated with a bit of care during installation.
By taking the time to test it indoors first, choosing a sheltered location, solving the power challenge safely, and mounting it securely, you can create a reliable outdoor monitoring system that will serve you well for years. A little bit of planning upfront will save you a lot of headaches down the road.