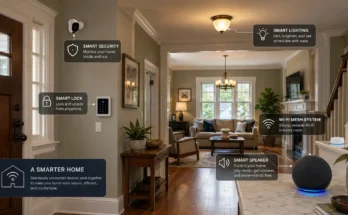
In a connected home, this technology is a foundational concept. This guide explains what it means, why it’s essential, and how to implement it successfully. By the end, you’ll be equipped to design a system leveraging this technology for reliability and convenience.
this technology
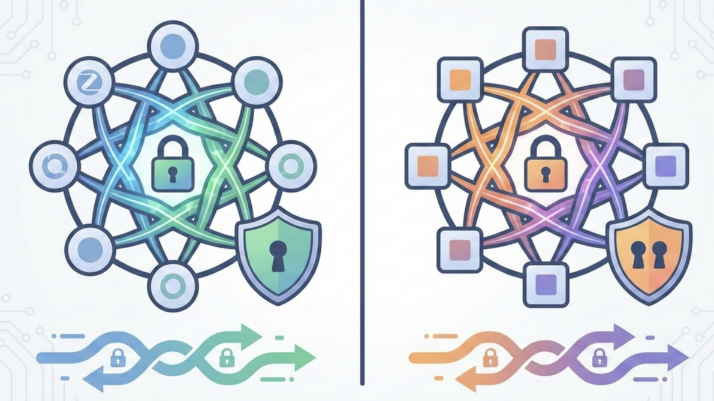
Interoperability defines a robust smart home. The framework behind A Step-by-Step Guide to Replacing Your Light Switch with a Smart Switch lets devices from different brands work together smoothly, avoiding app overload and vendor lock-in.
Why A Step-by-Step Guide to Replacing Your Light Switch with a Smart Switch Matters
The significance of A Step-by-Step Guide to Replacing Your Light Switch with a Smart Switch lies in future-proofing your investment. Vendors supporting it commit to regular security updates and cross-platform compatibility. This ensures your devices remain useful even if you change hubs.
Assessing Your Setup for Compliance
Begin by inventorying your devices. Which ones are A Step-by-Step Guide to Replacing Your Light Switch with a Smart Switch-certified? Look for logos on packaging or in apps. Your hub must also support the standard to serve as coordinator. Non-compliant devices can be phased as budget allows.
Implementing A Step-by-Step Guide to Replacing Your Light Switch with a Smart Switch
Step 1: Ensure hub compatibility. Step 2: Add certified devices incrementally. Step 3: Commission each via its app. Step 4: Test automations. Step 5: Document device IDs and locations for later maintenance.
Troubleshooting A Step-by-Step Guide to Replacing Your Light Switch with a Smart Switch Issues
Common problems include pairing failures and dropouts. Restart hub and device, verify firmware, check network stability. Consult official documentation for error codes. Factory reset can cure stubborn states.
Optimizing A Step-by-Step Guide to Replacing Your Light Switch with a Smart Switch Performance
Use stable Wi-Fi or position Thread border routers well. Consider VLAN segmentation to isolate IoT traffic and QoS to prioritize traffic. Monitor logs proactively to catch issues early.
Advanced Configuration
Fine-tune reporting intervals, create custom event handlers, or integrate with Home Assistant. Always back up your configuration before major changes and test in a sandbox first.
Long-Term Maintenance
Schedule audits, update firmware, replace aging hardware. Specifications evolve—stay informed via industry channels. With proper care, your ecosystem will provide years of reliable service.
Conclusion
Embracing A Step-by-Step Guide to Replacing Your Light Switch with a Smart Switch means investing in an open, secure, adaptable smart home. You now have a clear path to evaluate, adopt, and maintain it. Start small and enjoy the seamless automation that it enables.
Read also: Matter over Thread vs Wi-Fi.
Read also: Smart Device Wi-Fi Troubleshooting.
Remember that A Step-by-Step Guide to Replacing Your Light Switch with a Smart Switch is part of a larger ecosystem. Pair it with good power backup and network redundancy for maximum resilience.
Additional Insights
Many users neglect power protection. A UPS for your hub and router can keep the system alive during short outages, preserving schedules and automations.
Documentation is another key aspect. Keep a master list of device serial numbers, MAC addresses, and locations. Store it digitally and physically for disaster recovery.
Finally, join a community of enthusiasts using the same standard. Shared experiences accelerate learning and help you avoid pitfalls already solved by others.